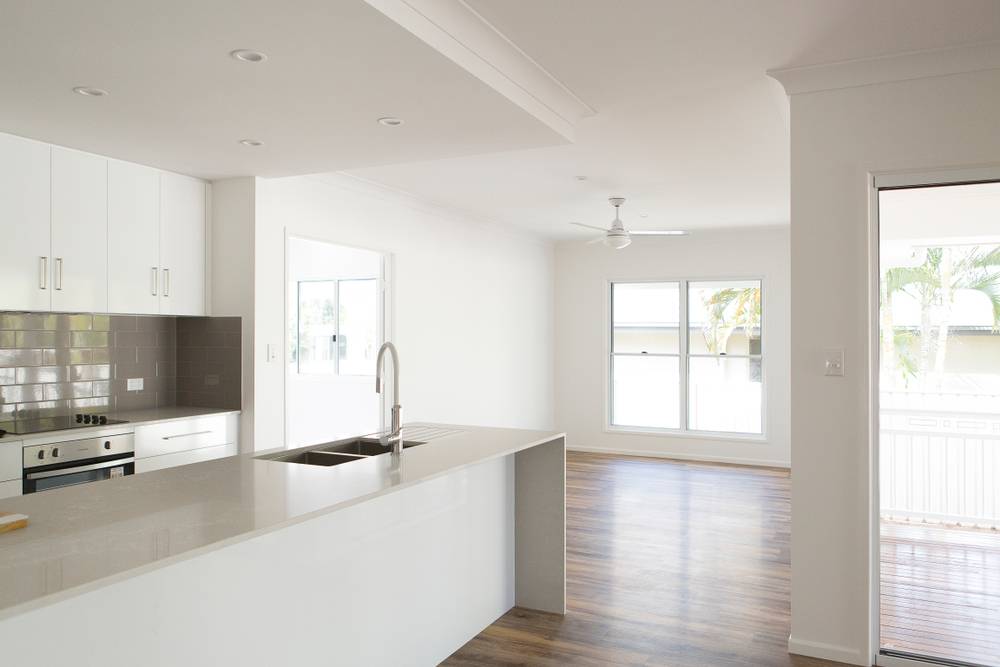
How Is Vinyl Flooring Installed?
Vinyl flooring has become one of the most popular choices for modern homes in Singapore—and for good reason. It’s stylish, affordable, and incredibly practical. But while most homeowners focus on design and cost, one crucial factor often gets overlooked: installation.
So, how is vinyl flooring installed?
The answer isn’t complicated, but it does require precision, proper preparation, and the right expertise. A well-installed vinyl floor looks seamless and lasts for years. A poorly installed one? That’s when you start seeing gaps, bubbling, or uneven surfaces.
Let’s walk through the process step by step so you understand exactly what goes into a professional vinyl flooring installation—and why it matters.
Understanding The Basics Of Vinyl Flooring Installation
Vinyl flooring installation isn’t just about laying planks on the floor. It’s a structured process that ensures durability, stability, and a clean finish.
Most vinyl flooring in Singapore comes in planks or tiles, and installation methods typically fall into two categories—glue-down or click-lock systems. Each method has its advantages, but both require a properly prepared surface to perform well over time.
Think of installation like building a house. The foundation matters just as much as the final design.
Step 1: Site Inspection And Measurement
Before any work begins, a professional installer will visit your home to assess the space. This includes measuring the floor area, checking the condition of the existing surface, and identifying any potential issues such as uneven flooring or moisture problems.
Accurate measurement ensures that the right amount of material is ordered, minimizing waste and avoiding unnecessary costs. It also allows the installer to plan the layout for a balanced and visually appealing finish.


Step 2: Subfloor Preparation
This is arguably the most important stage of the entire process.
The subfloor must be clean, dry, and level before vinyl flooring can be installed. Any dust, debris, or uneven surfaces can affect how the vinyl sits and performs over time.
If the floor is uneven, a self-levelling compound may be applied to create a smooth base. In some cases, existing tiles can be used as a base, provided they are even and well-secured.
Skipping this step is like painting over a cracked wall—it might look fine initially, but problems will show up sooner or later.
Step 3: Choosing The Installation Method
There are two main methods used for vinyl flooring installation in Singapore homes.
Glue-Down Installation
In this method, adhesive is applied to the subfloor before laying the vinyl planks. This creates a strong bond and is ideal for high-traffic areas where stability is important.
Click-Lock Installation
Also known as floating installation, this method involves snapping planks together without adhesive. It’s faster and cleaner, making it a popular choice for BTO flats.
The choice depends on the type of vinyl flooring, the condition of your subfloor, and your long-term usage needs.
Step 4: Laying The Vinyl Planks
Once the surface is ready, installation begins.
The installer typically starts from one corner of the room and works systematically across the space. Planks are aligned carefully to ensure straight lines and tight seams.
Precision is key here. Even a slight misalignment can affect the overall appearance of the floor.
Installers also leave small expansion gaps along the edges of the room. This allows the flooring to adjust to temperature changes without warping.
Step 5: Cutting And Fitting Around Edges
No room is perfectly square, and obstacles like walls, door frames, and built-in furniture require precise cutting.
Installers use specialized tools to cut vinyl planks to fit around these areas seamlessly. This ensures a clean, professional finish without awkward gaps or uneven edges.
This step is where experience really shows. Skilled installers make complex cuts look effortless.
Step 6: Installing Skirting And Finishing Touches
After the main flooring is installed, skirting boards and transition strips are added.
Skirting covers the expansion gaps along the walls, giving the floor a polished look. Transition strips are used where vinyl meets other flooring materials, such as tiles in bathrooms.
These finishing touches may seem minor, but they make a big difference in the overall appearance of your home.
Step 7: Final Inspection And Cleaning
Before handover, the installer will conduct a final inspection to check for any gaps, uneven areas, or imperfections.
The floor is then cleaned, and the space is prepared for use. At this point, your vinyl flooring is ready to handle everyday living.
How Long Does Vinyl Flooring Installation Take?
For most BTO flats in Singapore, vinyl flooring installation typically takes 2 to 4 days, depending on the size of the flat and the complexity of the design.
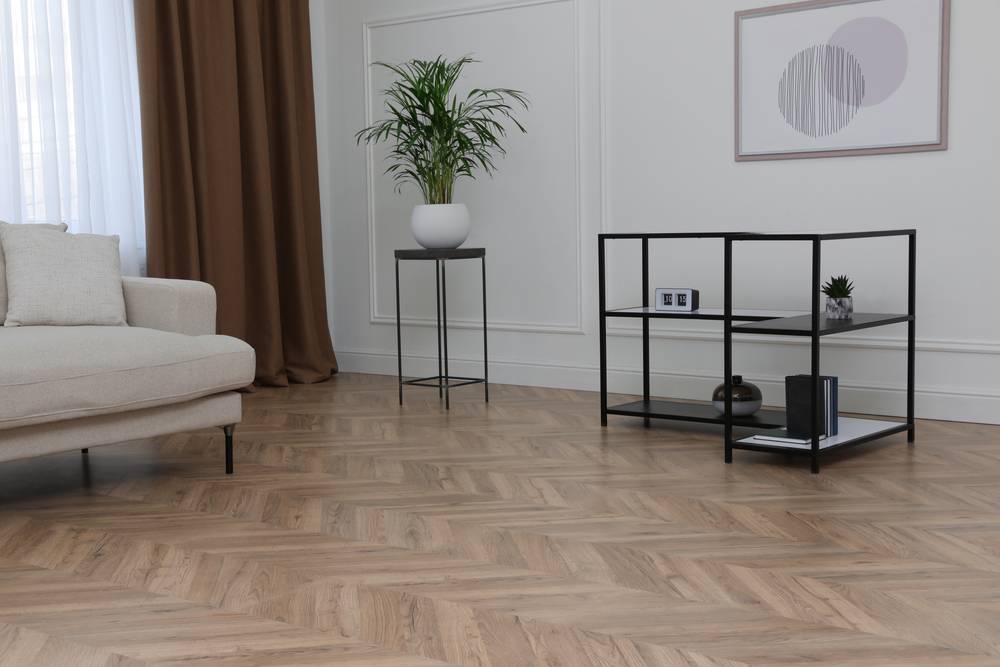
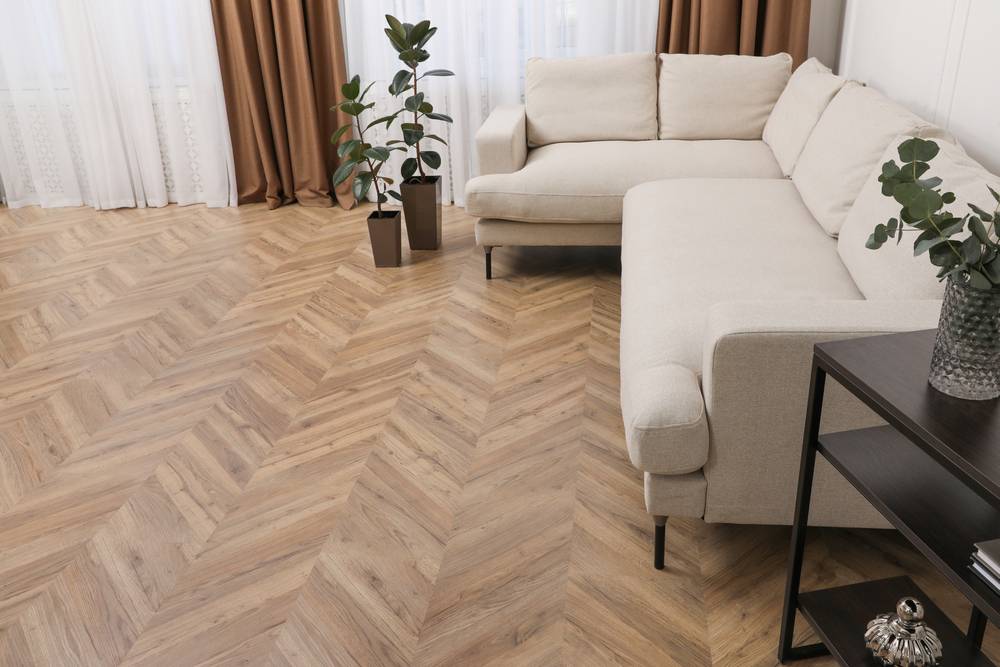
Larger homes or custom patterns like herringbone may require additional time.
If you’re planning your renovation timeline, this is one of the faster flooring options available.
Case Study: Vinyl Flooring Installation Trends In Singapore
According to the Housing & Development Board (HDB), vinyl flooring is widely used in new BTO flats due to its quick installation and minimal hacking requirements (https://www.hdb.gov.sg/).
The Building and Construction Authority (BCA) also highlights that modern vinyl flooring systems reduce renovation time and material waste, making them a preferred choice for sustainable home improvements (https://www1.bca.gov.sg/).
These trends explain why vinyl flooring continues to gain popularity among Singapore homeowners.
Common Mistakes To Avoid During Installation
Even though vinyl flooring installation is relatively straightforward, there are a few mistakes that can affect the final result.
Poor subfloor preparation is the most common issue. Uneven surfaces can lead to gaps, bubbling, or premature wear.
Another mistake is rushing the installation process. Precision takes time, and cutting corners often leads to long-term problems.
Finally, choosing inexperienced installers can result in uneven seams or poor finishing.
A good installation isn’t just about getting the job done—it’s about getting it done right.
Conclusion
So, how is vinyl flooring installed? It’s a carefully structured process that involves preparation, precision, and professional expertise. From subfloor preparation to final finishing, every step plays a role in ensuring your flooring looks great and lasts for years.
If you’re planning to install vinyl flooring in your home, working with experienced professionals makes all the difference.
Visit Dream Vinyl Flooring for expert installation services and premium vinyl flooring solutions tailored to Singapore homes. With the right team and the right materials, your home transformation starts from the ground up—literally.
FAQ
A: Yes, as long as the surface is level and in good condition, vinyl can be installed directly over tiles.
A: No, it is relatively clean compared to tile installation since it usually doesn’t require hacking.
A: Yes, professional installation ensures proper alignment, durability, and a seamless finish.
A: In most cases, you can walk on it immediately after installation, especially with click-lock systems.
Click on the link to find out more about our services and products. Chat with our sales representatives today!
About Dream Vinyl Flooring
Vinyl Flooring
Interior Design
Home Renovation
WhatsApp Us Now!