Vinyl flooring has become a popular choice for homeowners and interior designers alike due to its durability, versatility, and aesthetic appeal. However, like any other type of flooring, vinyl may eventually require replacement due to wear and tear, damage, or simply a desire for a fresh look. If you’re considering vinyl flooring replacement, it’s essential to understand the process, the costs involved, and how to ensure the new installation meets your expectations.
Understanding the Need for Vinyl Flooring Replacement
The decision to replace vinyl flooring is often driven by several factors. Over time, even the most resilient flooring materials can show signs of aging. This could be due to high foot traffic, exposure to sunlight, or accidental damage. Discoloration, warping, or peeling are common indicators that it might be time for a replacement. Additionally, if your vinyl flooring has become outdated or no longer matches your interior design preferences, replacement may be the best option to rejuvenate your space.
When to Replace Your Vinyl Flooring
Knowing when to replace your vinyl flooring can save you from costly repairs or further damage. Typically, vinyl flooring lasts between 10 to 20 years, depending on its quality and how well it has been maintained. However, if you notice the following signs, it may be time to consider a replacement:
Visible Damage: Cracks, tears, or gouges in the vinyl can compromise the integrity of the floor, leading to further issues.
Stubborn Stains: Some stains, especially those caused by chemicals or heavy dyes, may become permanent, detracting from the floor’s appearance.
Fading and Discoloration: Prolonged exposure to sunlight can cause vinyl floors to fade or discolor, making them look worn out.
Peeling or Lifting Edges: If the edges of the vinyl planks or tiles start to peel or lift, it can create a tripping hazard and allow moisture to seep underneath, leading to more significant damage.
Outdated Style: Trends in interior design change, and if your flooring no longer suits your home’s aesthetic, replacing it can be a quick way to update your space.
The Vinyl Flooring Replacement Process
Replacing vinyl flooring involves several steps, each critical to achieving a professional and long-lasting result. Whether you’re hiring a professional or planning a DIY project, understanding the process will help you make informed decisions.
1. Preparation and Removal
The first step in vinyl flooring replacement is preparing the area and removing the old flooring. This involves clearing the room of all furniture and any obstacles. If you’re replacing sheet vinyl, you’ll need to cut it into manageable sections for easier removal. For vinyl planks or tiles, you may need to gently pry them up using a utility knife or a floor scraper.
It’s essential to check the subfloor for any damage or unevenness during this stage. Any imperfections should be repaired before installing the new vinyl flooring to ensure a smooth and even surface.
2. Selecting the Right Vinyl Flooring
Choosing the right vinyl flooring for your space is crucial. Consider factors such as durability, water resistance, style, and budget. Vinyl comes in various forms, including sheets, planks, and tiles, each offering different benefits.
For high-moisture areas like bathrooms and kitchens, opt for waterproof or water-resistant vinyl. If you’re looking for a specific aesthetic, like the appearance of hardwood or stone, luxury vinyl planks (LVP) or luxury vinyl tiles (LVT) may be the best choice.
3. Installation Techniques
The installation method for vinyl flooring can vary depending on the type of product you choose. For example, vinyl sheets can be glued down or installed as a floating floor. Vinyl planks and tiles often use a click-and-lock system, making them easier to install without adhesives.
Before installation, ensure the subfloor is clean, dry, and level. Start by laying out the vinyl flooring to check for fit and alignment. This step is crucial, especially if your room has complex corners or if you’re matching patterns.
Once you’re satisfied with the layout, begin installing the vinyl flooring according to the manufacturer’s instructions. It’s essential to work carefully to avoid gaps, overlaps, or misalignments, which can affect the floor’s durability and appearance.
4. Finishing Touches
After the vinyl flooring is installed, it’s time to add the finishing touches. This includes trimming the edges, installing baseboards, and ensuring that any transitions between different flooring types are smooth and secure. These details not only enhance the floor’s appearance but also help protect the edges from wear and tear.
Costs Involved in Vinyl Flooring Replacement
The cost of replacing vinyl flooring can vary widely depending on several factors, including the size of the area, the type of vinyl chosen, and whether you hire a professional or opt for a DIY approach.
Material Costs
Vinyl flooring materials can range from budget-friendly options to more premium selections. On average, you can expect to pay between $2 to $7 per square foot for vinyl planks or tiles. Luxury vinyl options, which offer enhanced durability and more realistic finishes, can be on the higher end of this range.
Labor Costs
If you choose to hire a professional for the installation, labor costs will also need to be factored in. Labor rates can vary depending on your location and the complexity of the installation, but typically range from $1 to $5 per square foot.
Additional Costs
Don’t forget to consider additional costs such as subfloor repairs, removal of old flooring, and disposal fees. These can add to the overall expense but are necessary to ensure a high-quality installation.
Benefits of Replacing Vinyl Flooring
Replacing your vinyl flooring offers numerous benefits beyond just improving the appearance of your space. Here are a few advantages to consider:
Enhanced Aesthetics: A new vinyl floor can dramatically change the look and feel of a room, giving it a fresh and modern appearance.
Increased Property Value: Updating your flooring can increase your home’s market value, making it more attractive to potential buyers.
Improved Durability: Newer vinyl flooring options often come with enhanced features such as improved wear layers, better water resistance, and more realistic textures, ensuring your floors last longer.
Health and Safety: Replacing worn-out or damaged vinyl can reduce the risk of tripping hazards and improve indoor air quality by eliminating old adhesives or materials that may have degraded over time.
Vinyl Flooring Replacement: Case Studies from Singapore
To better understand the impact of vinyl flooring replacement, let’s look at a couple of recent case studies from Singapore.
Case Study 1: Residential Upgrade in Tampines
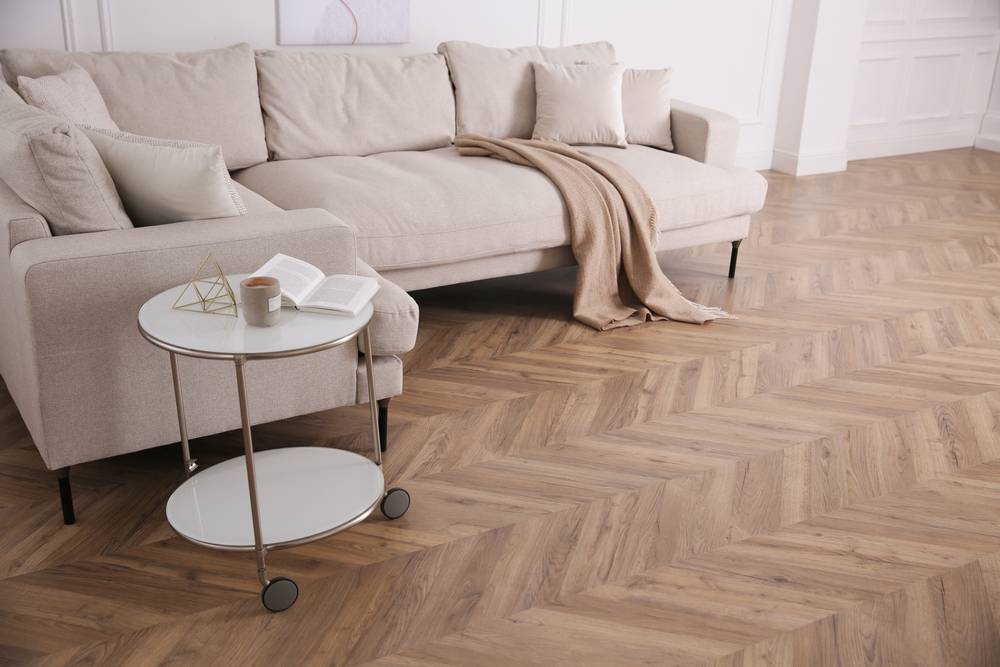
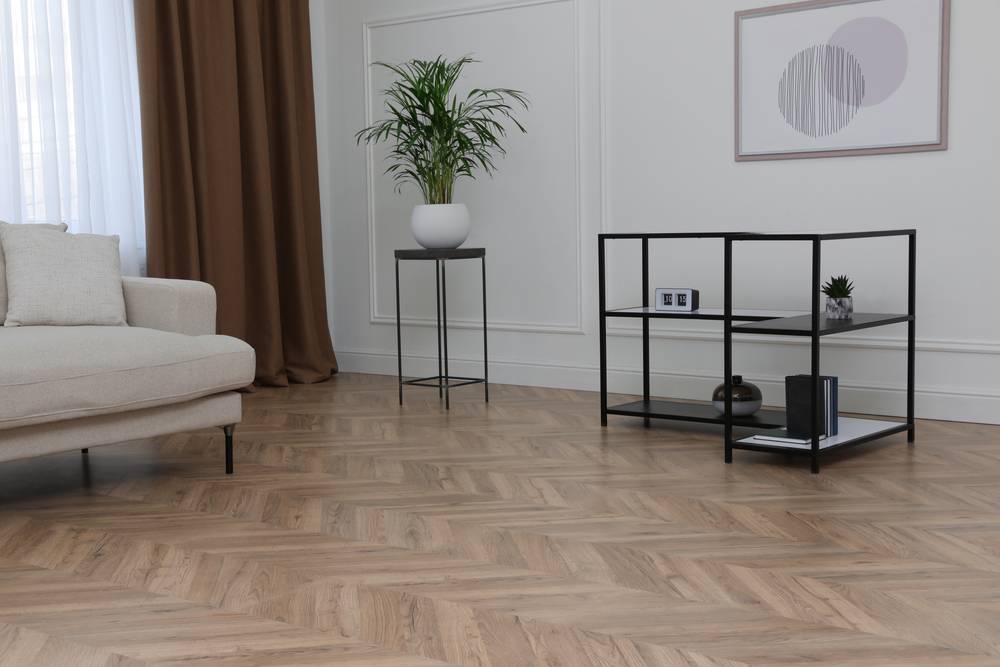
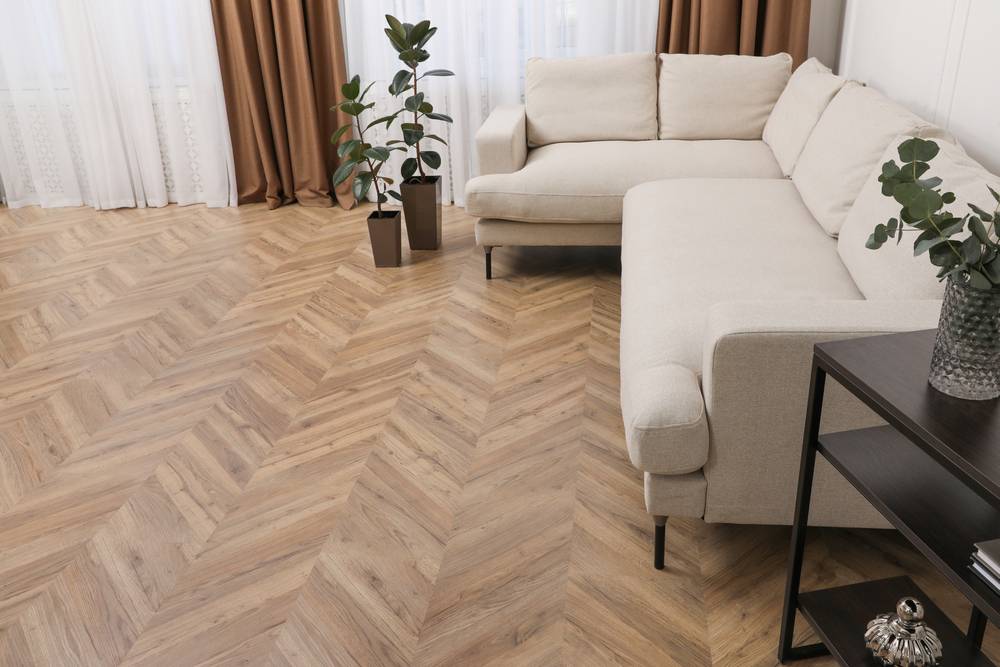
In a recent project in Tampines, a homeowner decided to replace the old vinyl flooring in their living room and bedrooms. The existing flooring had become discolored and worn out after 15 years of use. The homeowner chose luxury vinyl planks with a wood-look finish to match the modern aesthetic of their home.
The replacement process was completed in just three days, with minimal disruption to the household. The new flooring not only enhanced the appearance of the space but also provided a more comfortable and durable surface underfoot. The homeowner was particularly pleased with the realistic wood grain texture and the ease of maintenance.
Case Study 2: Commercial Space Renovation in Orchard Road
A retail store on Orchard Road underwent a significant renovation, including the replacement of its vinyl flooring. The store’s high foot traffic had taken a toll on the existing flooring, leading to visible wear and tear. The store owner opted for heavy-duty commercial vinyl tiles known for their durability and resistance to scratches and stains.
The installation was completed over a weekend to avoid disrupting business operations. The new flooring provided a fresh and inviting look, complementing the store’s modern interior design. The owner reported increased customer satisfaction, attributing part of it to the improved flooring.
Maintaining Your New Vinyl Floors
Once your new vinyl flooring is installed, proper maintenance is essential to keep it looking its best for years to come. Regular cleaning with a soft broom or vacuum and occasional mopping with a vinyl-safe cleaner will help prevent dirt and grime buildup. It’s also advisable to use protective pads under furniture legs to avoid scratches.
Avoid using abrasive cleaners or tools that could damage the vinyl’s surface. Additionally, placing mats at entryways can reduce the amount of dirt and debris tracked onto the floor.
Conclusion: Making the Right Choice for Your Vinyl Flooring Replacement
Vinyl flooring replacement is an excellent investment for homeowners and businesses looking to enhance their space’s aesthetics, durability, and value. By understanding the process, costs, and benefits, you can make an informed decision that meets your needs and budget.
Whether you’re dealing with worn-out floors or simply want a change, vinyl flooring offers a versatile and attractive solution. If you’re ready to explore your options, consider reaching out to a professional installer or visiting the Dream Vinyl Flooring website for more information and guidance.
For expert advice and top-quality vinyl flooring options, visit Dream Vinyl Flooring. Discover the latest in Vinyl Flooring and elevate your space with beautiful, durable, and affordable flooring solutions.