How to Fix Water-Damaged Vinyl Plank Flooring
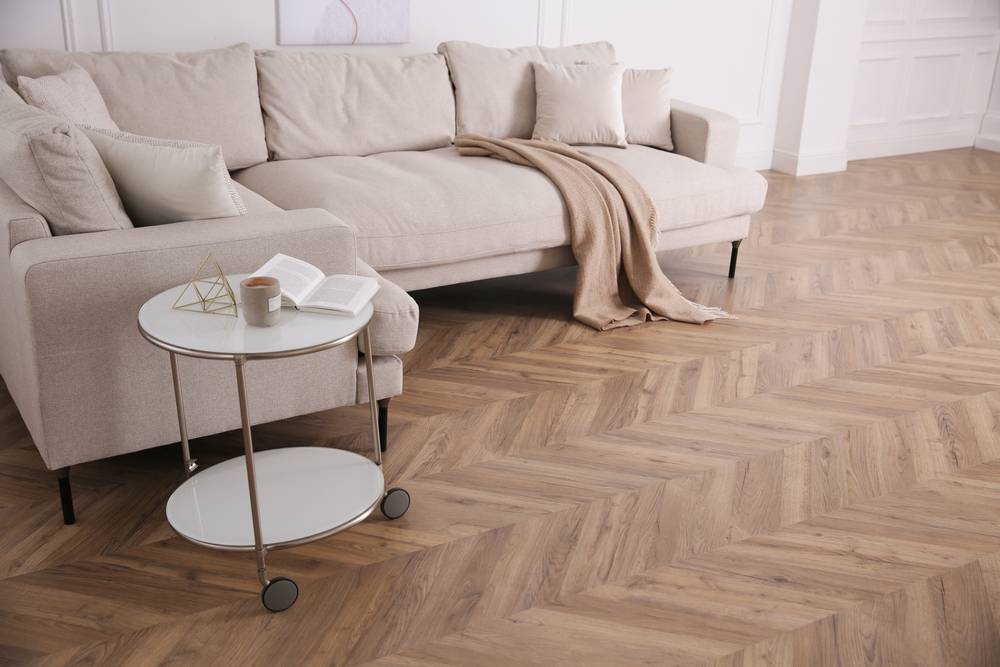
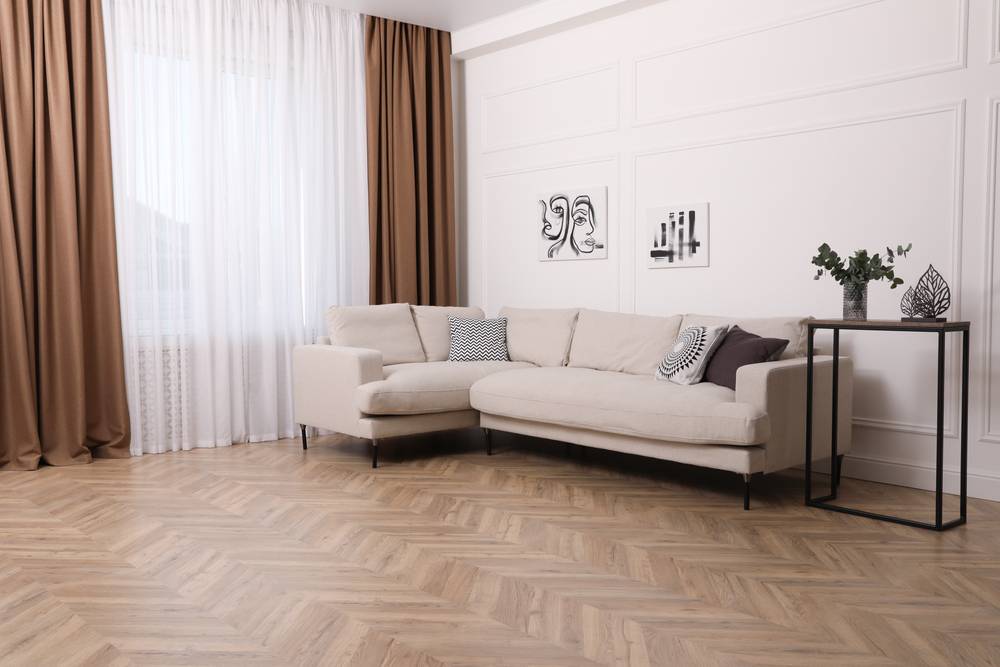
Vinyl plank flooring is a favorite among homeowners in Singapore for its durability, style, and water resistance. Yet, even the toughest floors have their limits. If you’ve ever spilled a bucket of water, dealt with a leaky pipe, or faced Singapore’s tropical humidity, you may have noticed your vinyl planks starting to bubble, warp, or discolor. The question is, can water-damaged vinyl plank flooring be fixed—or does it need to be replaced?
The good news is that repair is often possible, especially if the damage is detected early. With proper techniques and care, you can restore the beauty of your flooring without breaking the bank.
What Causes Water Damage in Vinyl Plank Flooring?
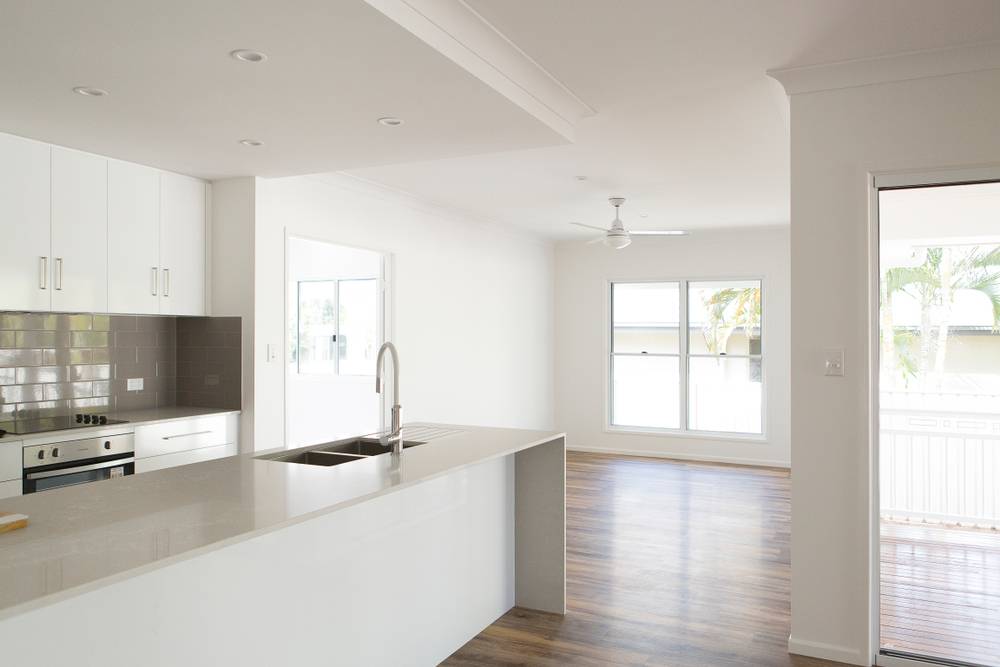
While vinyl itself is highly resistant to water, the subfloor beneath is not. When moisture sneaks under the planks—through spills, leaks, or condensation—it often gets trapped, creating a breeding ground for mold and weakening adhesives.
In Singapore, bathrooms, kitchens, and laundry areas are especially prone to moisture issues. Flooding or poor installation without a proper moisture barrier can make things worse. Over time, these conditions lead to warping, curling, or bubbling of planks, signaling water damage.
How to Identify Water-Damaged Vinyl Flooring
Spotting water damage early can save you a major headache. Common signs include:
-
Planks that lift, bubble, or curl at the edges.
-
Discoloration or dark spots that spread slowly.
-
A spongy or uneven feel when walking over the floor.
-
Persistent musty odors that won’t go away.
These symptoms don’t just affect aesthetics—they often point to hidden moisture beneath, which could damage your subfloor if ignored.

Step-by-Step: How to Fix Water-Damaged Vinyl Plank Flooring
Repairing water-damaged vinyl flooring isn’t as intimidating as it sounds. Depending on the extent of damage, here’s what you can do:
1. Locate the Source of Water
Before fixing the flooring, identify and eliminate the cause—whether it’s a leaking pipe, heavy condensation, or poor sealing. Otherwise, the issue will reoccur.
2. Remove Damaged Planks
Carefully lift the affected planks using a flat tool. Vinyl planks with click-lock systems are easier to replace, while glued-down planks may require adhesive remover.
3. Dry the Subfloor
Once planks are removed, thoroughly dry the subfloor. Use fans or dehumidifiers to ensure no hidden moisture remains. For concrete subfloors, check for cracks or seepage.
4. Replace with New Planks
Install replacement planks, making sure they match the rest of your flooring. Keep spare planks from your original installation for emergencies like this.
5. Re-seal and Protect
If your floor is glued down, apply adhesive evenly before reinstallation. For added protection, consider using underlayment or moisture barriers in vulnerable areas.
By addressing both the damage and the source, you can extend the lifespan of your vinyl flooring significantly.
When to Repair vs Replace Vinyl Flooring
Minor damage—like small bubbles or localized warping—can often be fixed by replacing just a few planks. But if large areas are affected, or mold has spread beneath the floor, replacement may be the safer choice. Professional flooring specialists can assess whether repair or replacement is more cost-effective.
Prevention: The Key to Long-Lasting Vinyl Floors
Prevention is always easier than repair. Simple practices like wiping spills quickly, controlling indoor humidity, and inspecting plumbing regularly help prevent water-related issues. During installation, insist on proper sealing and moisture barriers to protect against Singapore’s tropical conditions.
For more detailed care advice, check our guide on How to Extend the Lifespan of Vinyl Flooring.
Case Study: Moisture Control in Singapore Homes
A Building and Construction Authority (BCA) Singapore guideline emphasized the importance of moisture-proofing in flooring installations, especially in humid climates. The report highlighted that untreated subfloors are one of the leading causes of long-term water damage.
On a global scale, Statista’s 2023 market report revealed that vinyl flooring continues to dominate the Asia-Pacific market but reinforced that moisture management is critical for maintaining durability. Both insights point to one conclusion: prevention and proper installation are non-negotiable for long-lasting vinyl flooring.
Conclusion
Water damage in vinyl plank flooring may seem alarming, but it doesn’t mean your entire floor needs replacing. By identifying the cause, removing damaged planks, drying the subfloor, and installing replacements, you can restore your flooring to its original beauty. The key is acting fast—don’t let small water issues snowball into costly repairs.
If you’re ready to protect and upgrade your flooring, explore expert solutions at Dream Vinyl Flooring, where we provide tailored advice and installations built for Singapore’s unique climate.
FAQ
Q: Can water-damaged vinyl planks be repaired?
A: Yes, in many cases you can replace only the damaged planks instead of the entire floor.
Q: How do I know if my vinyl floor is water-damaged?
A: Look for signs like bubbling, curling, discoloration, or musty odors.
Q: Do I need to replace the whole floor if water gets underneath?
A: Not always—localized damage can be fixed. Large-scale damage may require replacement.
Q: How can I prevent water damage in vinyl flooring?
A: Use moisture barriers, clean spills quickly, and maintain good ventilation in humid areas.
Click on the link to find out more about our services and products. Chat with our sales representatives today!
About Dream Vinyl Flooring
Vinyl Flooring
Interior Design
Home Renovation
WhatsApp Us Now!